Quilotoa Loop Trek Ecuador: Complete Day-by-Day Guide
Quilotoa Loop Trek Complete Guide
El Circuito de Quilotoa no es solo una caminata, es una experiencia transformadora a través de las tierras altas indígenas de Ecuador. Cuatro días recorriendo senderos de montaña, durmiendo en pequeños pueblos y conectando con comunidades indígenas andinas crean algo genuinamente diferente a las típicas excursiones guiadas. He realizado esta caminata varias veces con diferentes composiciones de grupo, y cada vez ofrece algo inesperado. La combinación de impresionantes vistas de lagos de cráter volcánico, caminatas desafiantes a gran altitud y auténticos encuentros culturales hacen del Circuito de Quilotoa una de las caminatas de varios días más gratificantes de Sudamérica.
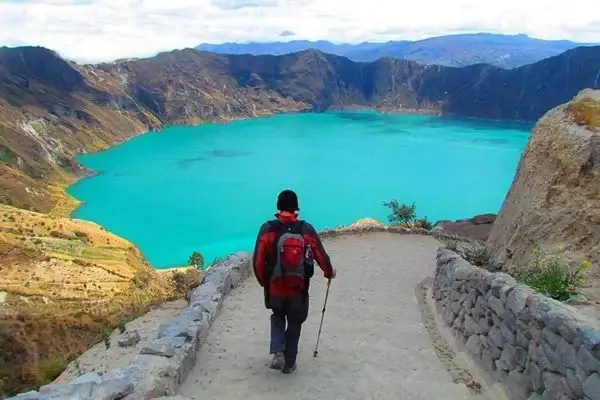
¿Qué es exactamente el circuito de Quilotoa?
The Quilotoa Loop is a four-day hiking circuit in Ecuador’s central highlands. The route creates a roughly circular path through several small indigenous villages, with the stunning Quilotoa crater lake as the highlight. The trek isn’t a formal, marked trail system like some established routes it’s a loose circuit that experienced trekkers navigate using maps and local knowledge.
The loop typically covers 50-60 kilometers over four days, visiting villages like Zumbahua, Laguna de Quilotoa, Isinlivi, Chugchilán, and returning to the starting point. The elevation varies between 3,500 and 4,000 meters, creating substantial altitude demands even for experienced hikers.
The trek is accessible to people with moderate fitness, though the high altitude affects everyone to some degree. Unlike technical mountaineering, the Quilotoa Loop requires endurance hiking rather than climbing skills, making it approachable for those willing to put in the physical effort.
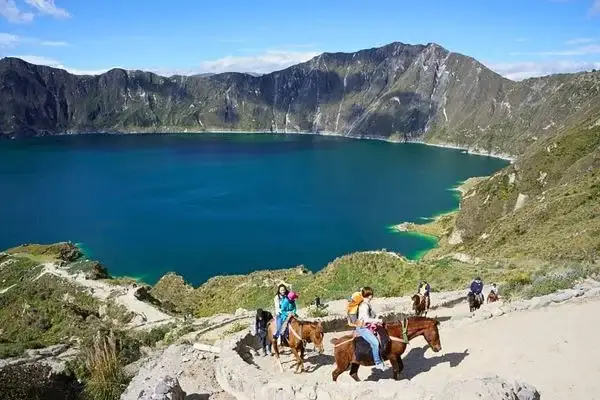
Day-by-Day Breakdown of the Quilotoa Loop
Day 1: Latacunga to Zumbahua to Laguna de Quilotoa (Approximately 20km, 6-7 hours hiking)
La caminata generalmente comienza en Latacunga, un pueblo de la sierra al que se puede llegar desde Quito en autobús (aproximadamente 2 horas). La mayoría de los grupos parten temprano por la mañana, utilizando el transporte público o contratando transporte desde Latacunga hasta el pueblo de Zumbahua.
From Zumbahua, the actual hiking begins. The first day is long and sets the tone for the trek. You start in the village, climb through agricultural lands, and gradually ascend toward the crater rim. The trail passes through small communities, patchwork agricultural fields, and increasingly sparse vegetation as elevation increases.
The trek follows ridges and mountain roads (many sections traverse actual roads, not wilderness trails). The path isn’t always obvious—locals navigate by combining GPS knowledge with traditional route understanding. Guides are invaluable here; getting lost on the first day sets a bad tone and wastes energy.
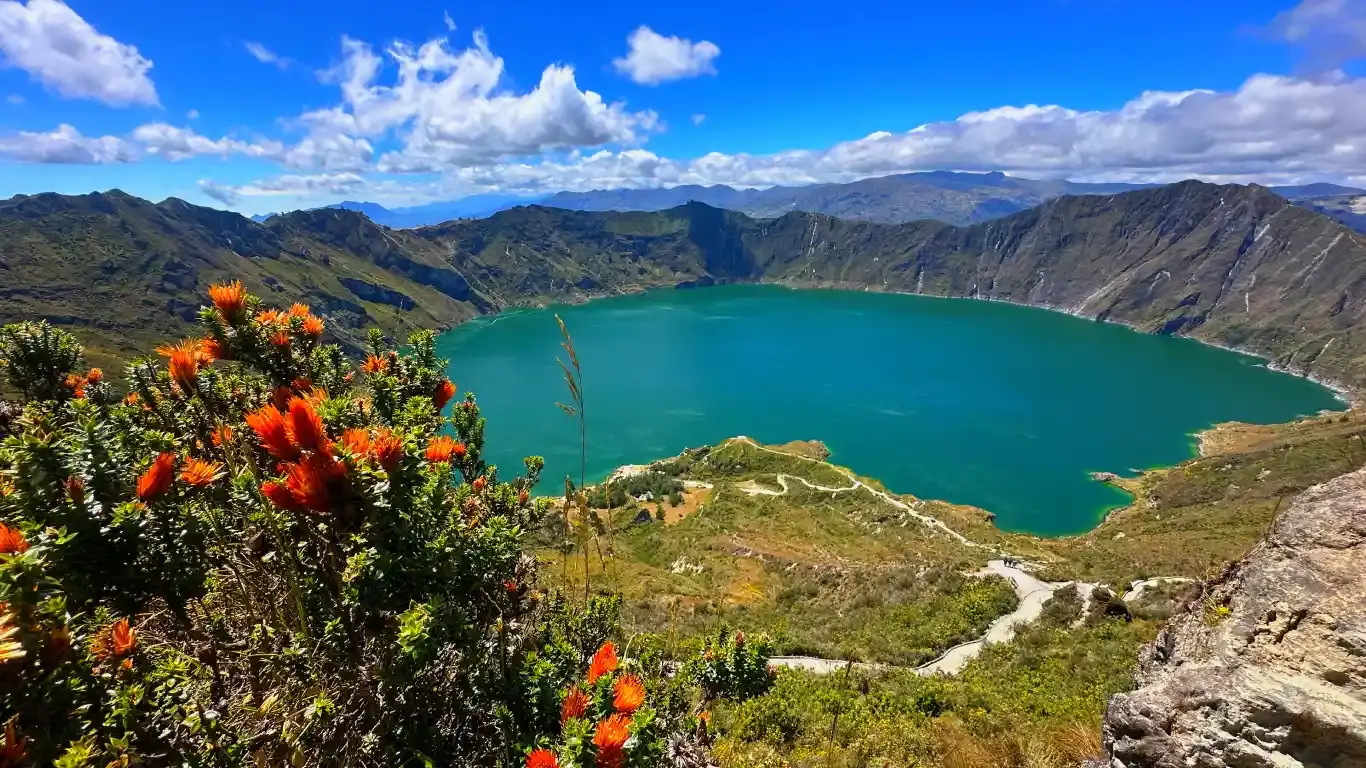
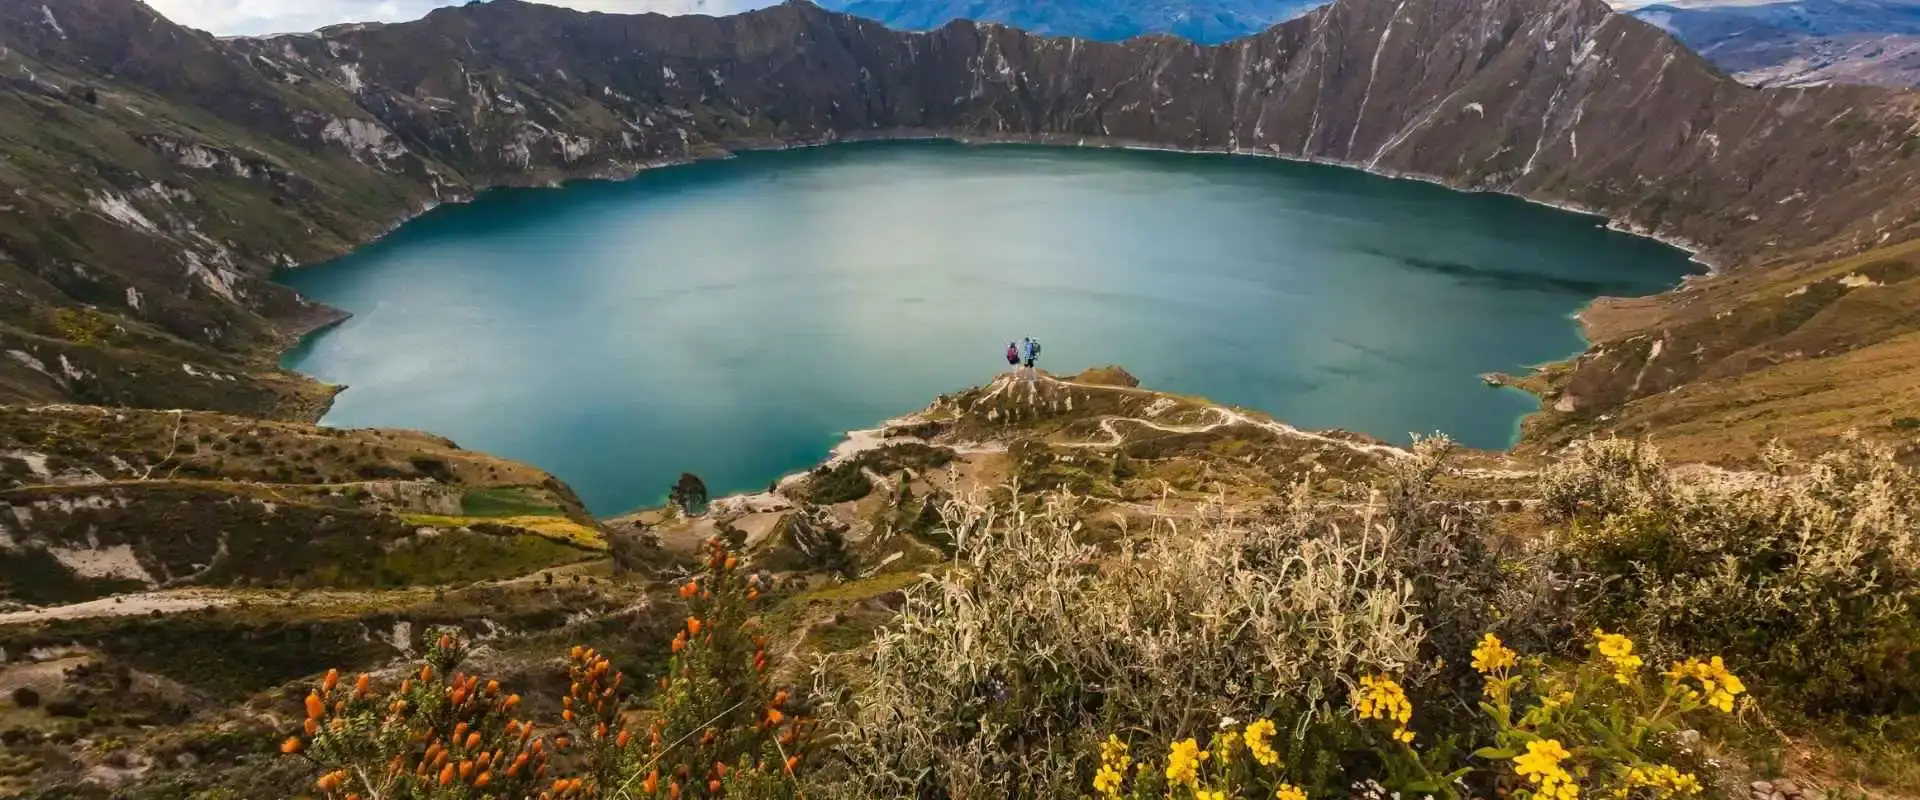
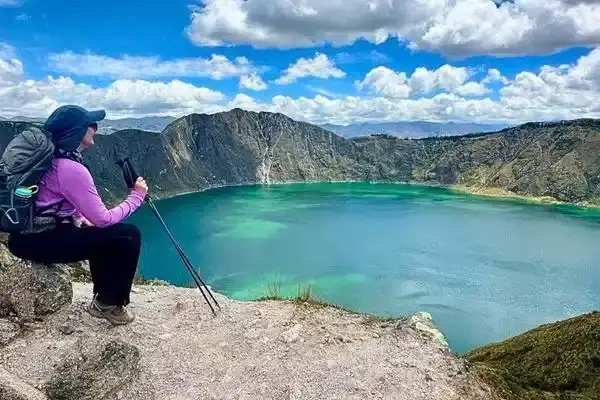
By afternoon, you reach the Quilotoa crater rim area and descend slightly to the village of Laguna de Quilotoa, where you’ll stay in a basic guesthouse. The village sits on the crater rim, offering incredible views of the turquoise crater lake. The first-day fatigue is real, but watching sunset over the lake provides immediate gratification.
The challenges: High altitude (around 3,900 meters) hits immediately. Many people experience mild headaches, shortness of breath, and fatigue on day one. The trail is long and you won’t be fully acclimatized. Take breaks frequently, drink massive amounts of water, and eat light meals.
Día 2: Laguna de Quilotoa a Isinlivi (Aproximadamente 12 km, 5-6 horas de caminata)
El segundo día es más corto que el primero, pero igual de exigente. Tras una buena noche de descanso y aclimatación en la zona del cráter, se recorre el borde del cráter Quilotoa, contemplando el lago desde múltiples perspectivas. El sendero del borde ofrece algunas de las vistas más espectaculares de la ruta: estar de pie sobre un lago de cráter situado cientos de metros por debajo crea una experiencia verdaderamente surrealista.
El sendero bordea el cráter durante varios kilómetros antes de descender a un valle. El descenso es empinado e implica trepar por laderas volcánicas. Tus rodillas lo recordarán; descender a gran altitud con una mochila exige mucho a las piernas y las articulaciones. Tómalo con calma y usa bastones de trekking si los tienes. Want this as part of a longer Ecuador trip? Tell us your dates and we will build it around you.
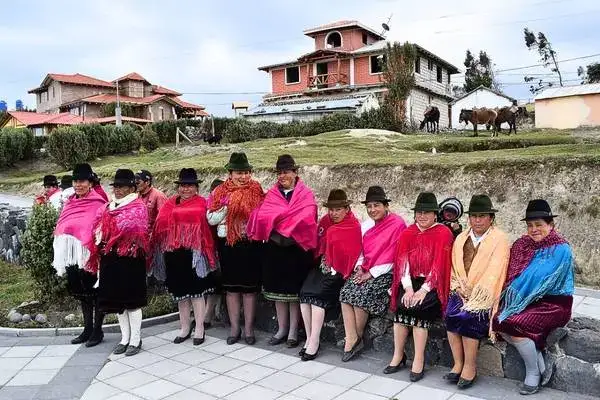
The route then traverses ridgelines and descends toward the village of Isinlivi. The path is less crowded than day one—fewer trekkers make it past the first-day fatigue. You’ll see genuine indigenous communities living traditional lives, with woven textiles, traditional dress, and agricultural practices that haven’t changed for generations.
Isinlivi sits at about 3,600 meters in a highland valley. The village is small but has become a trekker hub, with several basic guesthouses and small restaurants. The evening atmosphere is relaxed and authentic locals and trekkers mix in the evening as communities gather.
The challenges: Knee strain from descent, continued altitude effects, and increasing fatigue. By day two, accumulated hiking effort becomes noticeable. The magical first-day novelty wears off and you settle into the genuine work of the trek.
Day 3: Isinlivi to Chugchilan (Approximately 14km, 6-7 hours hiking)
Day three continues the circuit toward Chugchilán. The route traverses ridgelines with alternating ascents and descents. You’re now in the rhythm of the trek daily rhythm settles in and your body adapts to the altitude demands.
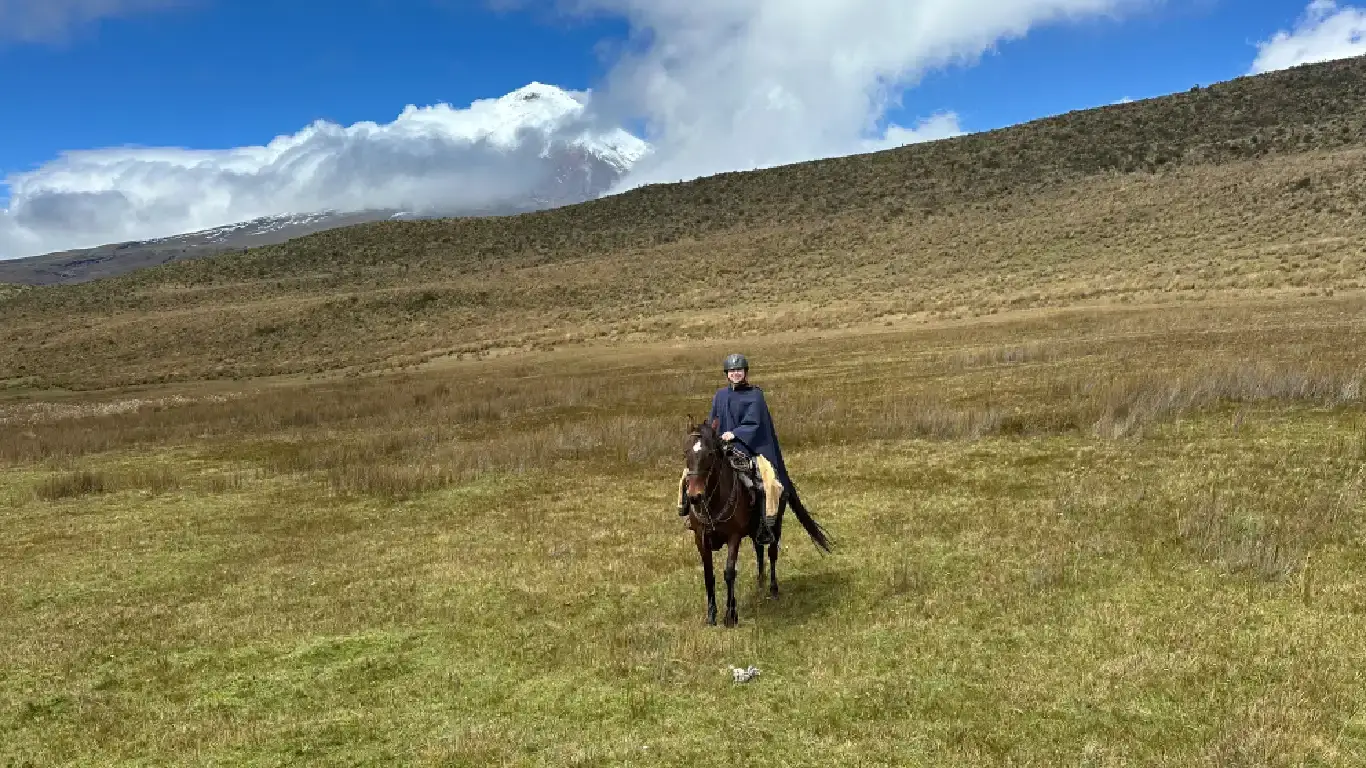
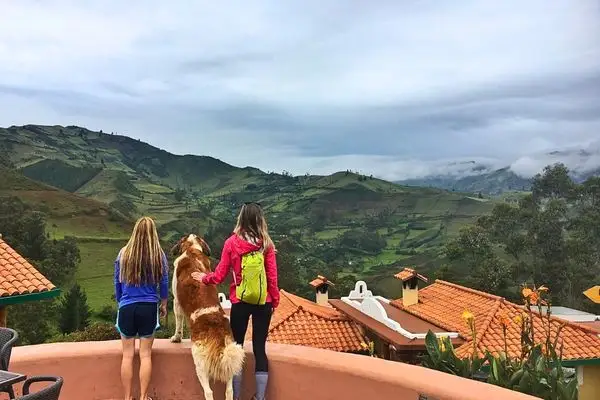
The path connects smaller villages and communities. You pass agricultural lands, potato fields, and increasingly remote terrain. The landscape is genuinely beautiful rolling highlands, distant mountain views, and that specific Andean aesthetic that appeals to trekkers and photographers.
Chugchilán sits in a valley at approximately 3,300 meters, making it slightly lower than previous stops. The descent in elevation provides mild relief from altitude effects. The village is larger than Isinlivi and has more tourist infrastructure, including multiple guesthouses and restaurants. It’s become something of a backpacker hangout, with several lodges catering specifically to trekkers.
Chugchilán has interesting architecture the older areas feature traditional adobe buildings with clay tile roofs, while newer sections show contemporary construction. There’s an actual town square, market area, and community life distinct from the smaller villages.
The challenges: Accumulated fatigue becomes real by day three. Your legs are tired, your feet hurt, and altitude effects may have peaked. Many people experience genuine exhaustion by day three it’s less romantic than day one but more authentic. The psychological challenge of knowing you’re only halfway through manifests here.
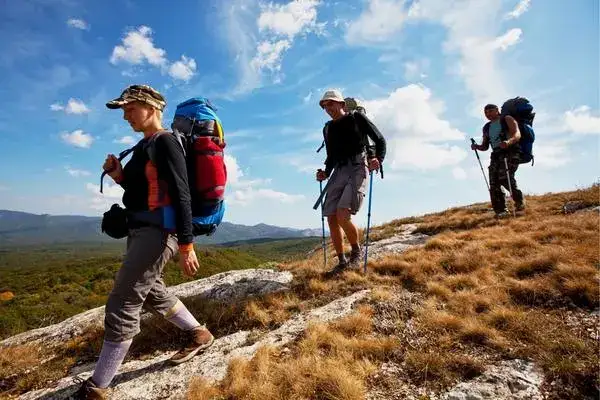
Day 4: Chugchilán to Latacunga (Approximately 14km, 5-6 hours hiking)
The final day loops back toward Latacunga and the trek’s starting point. The route descends gradually, losing elevation as you move toward lower altitudes. This descent provides physical relief less altitude stress and easier breathing.
The trail winds through communities and valleys toward Sigchos, a larger town where the trek typically ends. From Sigchos, public transportation returns to Latacunga (about 1.5 hours by bus). Some trek itineraries extend the trek by spending time in Sigchos or arranging different endpoints.
The final day has different emotional dynamics than earlier days. You know the trek is ending, which creates a mix of relief (the walking is ending) and melancholy (the experience is concluding). Many people forge connections with trekking companions and guesthouse workers, making goodbyes genuine.
The challenges: Final day fatigue, emotional complexity of ending, and sometimes disappointment that the trek is over. Some trekkers extend the experience with extra nights in Chugchilán or exploring nearby villages.
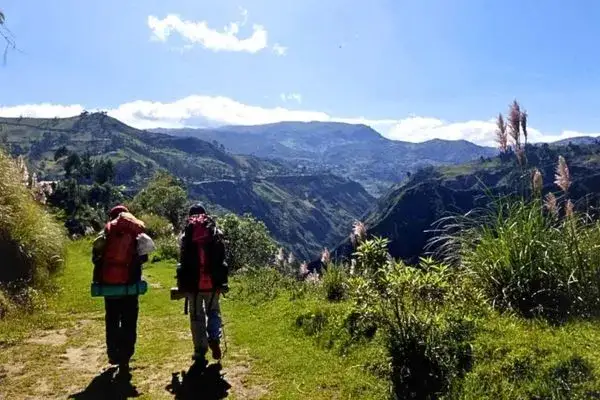
Acclimatization and Altitude Considerations
The Quilotoa Loop operates at 3,500-4,000 meters elevation, high enough to affect most lowland visitors. Altitude sickness is a genuine consideration, not just a risk to obsess over but something requiring thoughtful preparation.
Before attempting the trek, spend at least 2-3 days in Quito (2,850 meters elevation) to allow your body to begin acclimatizing. The trek itself is slow-paced enough that further acclimatization happens during hiking, but arriving from sea-level and immediately starting a high-altitude trek creates unnecessary risk.
Common altitude effects include headaches, shortness of breath, fatigue, and sometimes nausea. Most people experience mild versions of these. Serious altitude sickness is less common on a trek at this elevation but does happen. If you experience severe symptoms (confusion, extreme weakness, persistent nausea), descending to lower elevation is the appropriate response.
Acclimatization strategies: Drink enormous amounts of water—more than you think necessary. Eat regular, light meals rather than heavy foods. Take acclimatization hikes in Quito before the trek. Sleep well before starting. Some people take medication (like acetazolamide) under medical guidance, though this is personal decision territory.
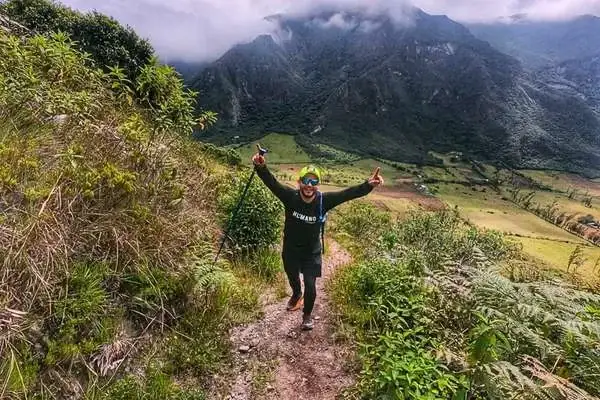
Physical Preparation and Difficulty Assessment
The Quilotoa Loop is moderate difficulty, not beginner-level but not extremely demanding. Most people who are reasonably fit can complete it, though fitness variations significantly impact experience quality.
People who exercise regularly (running, hiking, gym work) typically find the trek manageable with standard fatigue. Sedentary individuals may struggle with the daily distance and altitude combination. There’s no substitute for basic fitness.
Training recommendations: Do several practice hikes of 15+ kilometers with elevation gain before attempting the Quilotoa Loop. Hike with a backpack to develop comfort carrying weight. Include hill/mountain training—flat hiking doesn’t prepare you for sustained elevation work.
The trek is achievable without elite fitness, but arriving somewhat fit makes the experience significantly more enjoyable.
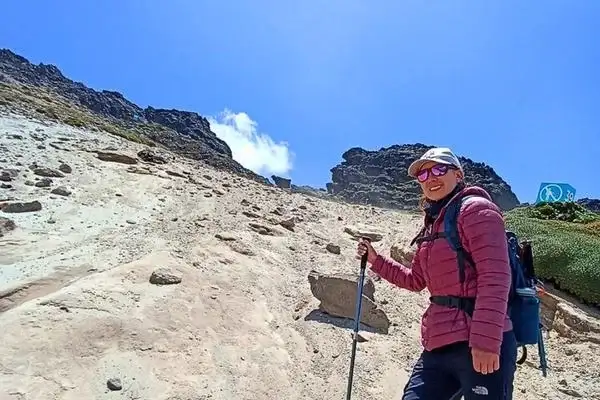
What to Pack: The Essentials
Packing light is essential. You’ll carry your pack for four days every unnecessary item becomes a burden.
Clothing and Gear (weight-conscious):
- Hiking boots (broken in before the trek) or comfortable trail shoes
- 2-3 pairs hiking socks
- 2 shirts (1 technical/moisture-wicking, 1 warmer layer)
- 1 pair hiking pants
- 1 pair shorts
- Warm layer (fleece or down)
- Waterproof jacket (essential—mountain weather changes rapidly)
- Hat and gloves (nights at altitude are cold)
- Underwear (3 pairs, you’ll wash them in guesthouses)
- Toiletries (minimal—just essentials)
- Sunscreen and lip balm (UV exposure at altitude is intense)
- Small backpack (40-50 liter capacity)
Hiking-Specific Gear:
- Trekking poles (optional but genuinely helpful for descents, reduces knee strain)
- Water bottles or hydration bladder (at least 2 liters capacity)
- Energy snacks (bars, nuts, dried fruit, chocolate)
- Headlamp (for early starts and evening needs)
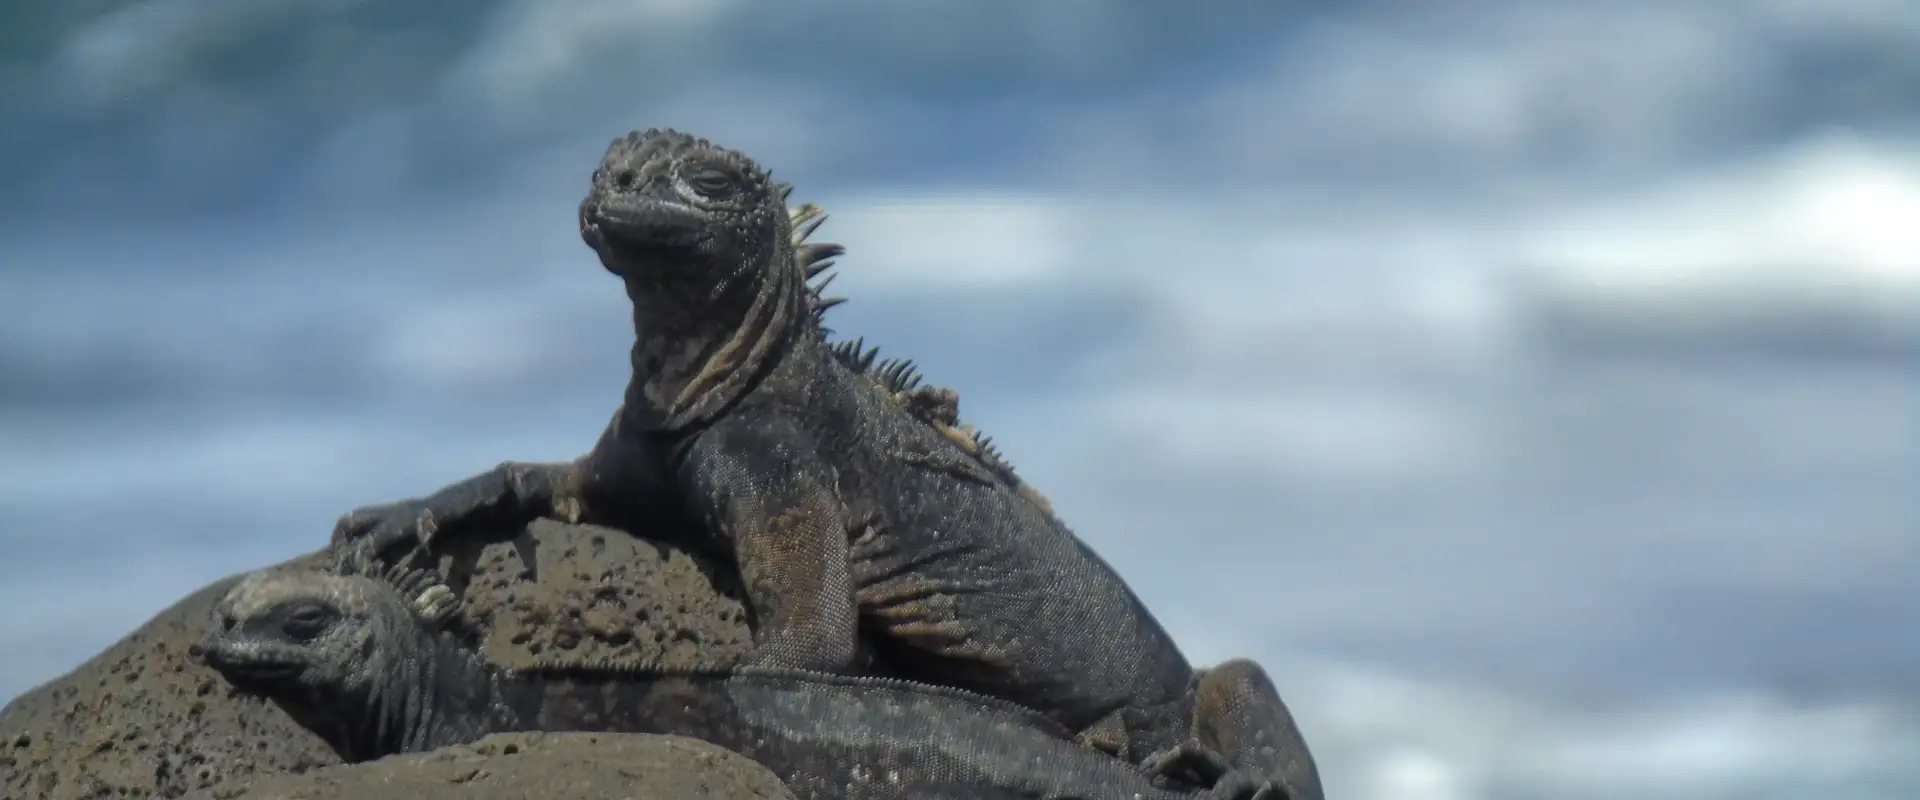
START IN QUITO, END IN THE GALÁPAGOS
9 Day Ecuador and Galapagos Tour: Andes, Amazon and Santa Cruz
Quito, Cotopaxi, Quilotoa, Baños and the Amazon with your own guide, then three nights on Santa Cruz with tortoises, beaches and snorkeling.
From $1,990 per person
View itineraryPair It With the Galápagos: 9 Day Ecuador & Galápagos Tour
Other Essentials:
- Passport (for transport)
- Money (Ecuadorian sucres—guesthouses accept cash)
- Basic medications (pain relievers, altitude sickness medication if using)
- Phone (for safety, though signal is limited in some areas)
- Camera (if you care about documentation)
Weight matters. Aim for a packed weight of 8-12 kg (18-26 lbs). Every extra kilogram affects your daily experience.
Accommodation on the Quilotoa Loop
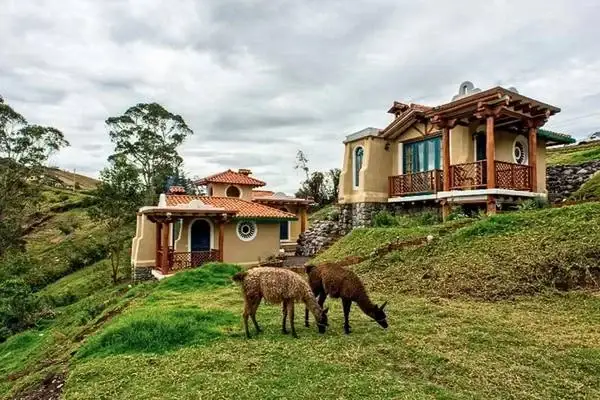
The loop relies on basic guesthouses in the villages. These range from genuinely rustic to surprisingly comfortable depending on the establishment.
General Standards:
- Private rooms with beds (usually basic but functional)
- Shared bathrooms with cold-water showers (expect cold water)
- Basic heating (some guesthouses have fireplaces, others rely on blankets and body heat)
- Included breakfast (typically bread, fruit, coffee)
- Evening meals available (varying quality, usually $5-10 USD per meal)
Accommodation conditions vary. Some guesthouses are genuinely comfortable with hot water and heating. Others are minimal but authentic. Come with flexible expectations—you’re sleeping in mountain villages, not hotels.
Most trek operators arrange accommodation in advance. Independent trekkers walk in and negotiate rooms—almost always available, though you might not get first choice of lodges.
Cost Breakdown
Budget-conscious trekking costs vary but generally fall in this range:
- Organized trek (guide, accommodation, meals): $300-600 USD per person (group-dependent)
- Transportation to/from Latacunga: $15-30 USD from Quito
- Independent trek (accommodation, meals, no guide): $150-300 USD per person
- Meals and snacks: $20-40 USD over four days if purchasing locally
Guides are optional but valuable, especially first-time trekkers and those concerned about navigation. Local guides from Latacunga or Zumbahua typically charge $30-50 USD per day.
Best Time to Trek
The Quilotoa Loop is trekked year-round, but conditions vary seasonally.
- Dry Season (June-September): Best time overall. Clear days, good visibility, and stable weather. Trails dry quickly after rain. Most trekkers visit during this window.
- Shoulder Seasons (April-May, October-November): Good conditions, fewer trekkers, and moderate rainfall. Can be muddy but manageable.
- Wet Season (December-March): Frequent rain, muddy trails, and cloud cover limiting views. Not impossible but less enjoyable. Better visibility in early mornings before clouds develop.
- I personally prefer trekking during shoulder seasons—good conditions without peak-season crowds.
Navigation and Getting Lost
The Quilotoa Loop isn’t formally marked with consistent trail signs. Navigation relies on maps, GPS, and local knowledge. Without a guide, you need navigational skills and map reading ability.
Getting lost on the Quilotoa Loop happens. The route is loose—multiple valid ways to traverse the circuit exist. If you find yourself off-route, locals will redirect you. Asking for directions is part of the experience (and improves Spanish skills).
Using GPS watch or phone with offline maps dramatically improves confidence. Download maps before heading into areas with limited signal. Simple navigation mistakes shouldn’t derail the trek, but having backup navigation tools removes unnecessary stress.
Guide vs. No Guide: The Trade-offs
Guides are optional but worth considering for first-time trekkers.
- With a Guide (Pros): Navigation clarity, local insights, safety assurance, cultural interpretation, route optimization, and group motivation.
- With a Guide (Cons): Reduced independence, fixed pace, and additional cost.
- Without a Guide (Pros): Full independence, flexibility in pace and routing, lower cost, and stronger self-reliance development.
- Without a Guide (Cons): Navigation responsibility, potential for getting lost, less cultural interpretation, and solo travel safety considerations.
I’ve done the loop both ways. With a guide makes it more culturally rich and less navigation-stress. Solo makes it more empowering and cheaper. Choose based on your comfort level and preferences.
Cultural Sensitivity and Community Interaction
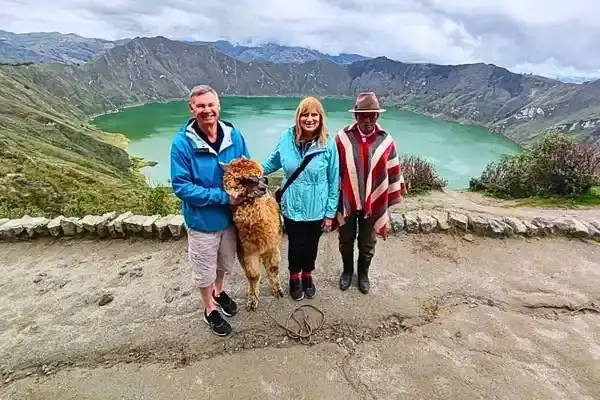
The villages on the Quilotoa Loop are real communities, not theme parks. Respectful interaction matters.
Cultural Etiquette:
- Ask before photographing people
- Don’t treat indigenous clothing and traditions as costume—engage respectfully
- Support local businesses (guesthouses, meal providers) rather than bringing outside food
- Learn basic Spanish greetings and conversational phrases
- Respect privacy, don’t wander into private homes or agricultural areas without permission
- Minimize waste, pack out what you pack in
Many guesthouses and communities have benefited from trek tourism, providing income that supplements traditional agriculture. Your visit directly supports livelihoods. This economic reality makes respectful interaction both ethically appropriate and appreciated.
Safety Considerations
The Quilotoa Loop is generally safe. Crime exists in Ecuador, but the remote hiking route doesn’t experience significant security issues. Normal travel safety precautions apply: keep valuables secure, avoid excessive cash display, and let someone know your trek plans.
Altitude sickness is the primary health risk (discussed earlier). Injuries from hiking (twisted ankles, falls) are possible but uncommon with normal care. Bring basic first aid supplies.
The trek is walkable in any conditions but enjoyable within certain weather parameters. Extreme rain can make trails treacherous. If concerned about weather, monitor forecasts before departing.
Post-Trek Recovery
Four days of high-altitude hiking taxes your body. Recovery looks like:
- Immediate post-trek: Rest and light activity, avoid strenuous exercise
- Days 1-3 post-trek: Gradual activity increase, hydration and nutrition emphasis
- Days 4-7: Normal activity resumes, lingering soreness typically resolves
Many people experience knee/leg soreness and general fatigue for a few days. This is normal and resolves with rest and gentle movement.
The Quilotoa Loop: Worth the Effort?
Yes, absolutely. Four days of trekking doesn’t sound like much, but the Quilotoa Loop delivers what longer treks offer—cultural immersion, natural beauty, physical challenge, and genuine connection to landscapes and communities.
The trek fits perfectly into a broader Ecuador itinerary. You can trek the loop, then continue exploring Quito, Galapagos, the Amazon, or other destinations. It’s manageable in effort and time, yet delivers profound experiences.
Is it difficult? Moderately, especially for those unaccustomed to high altitude. Is it worth it? For almost everyone who attempts it, absolutely. The combination of crater lake views, indigenous community interaction, and personal challenge creates something genuinely memorable.
Looking for more on Quilotoa Loop? Browse our related coverage on quilotoa loop ecuador, quilotoa loop guide, quilotoa loop tour, and reach out to our local experts for personalized planning.